Which vision system do I need for my production process?
Choosing the right vision system for your production process is not a simple, black-and-white decision. There is a lot involved. We have been installing vision systems for years and, in this blog post, we share our knowledge, experience, and key variables.
It’s not just about choosing a camera, but about bringing together multiple factors such as resolution, lighting, and environmental influences to find the best solution. In this blog, we provide an overview of these various factors.
Determining the right vision system is a complex task
Each production process is unique and requires a specific approach when choosing a vision system. The variation in products, production speed, and inspection accuracy makes it challenging to find the right system. This is not a one-size-fits-all scenario. Whether you are checking bottles for printed codes, assessing packaging quality, or ensuring correct placement of components, a vision system plays a crucial role.
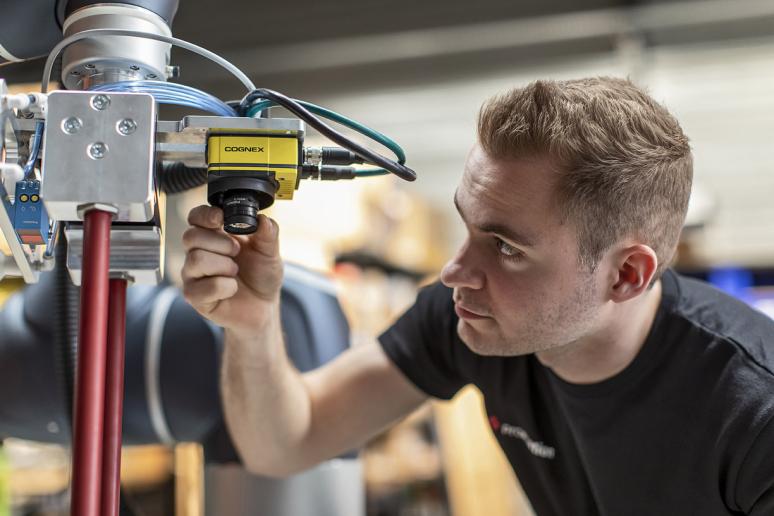
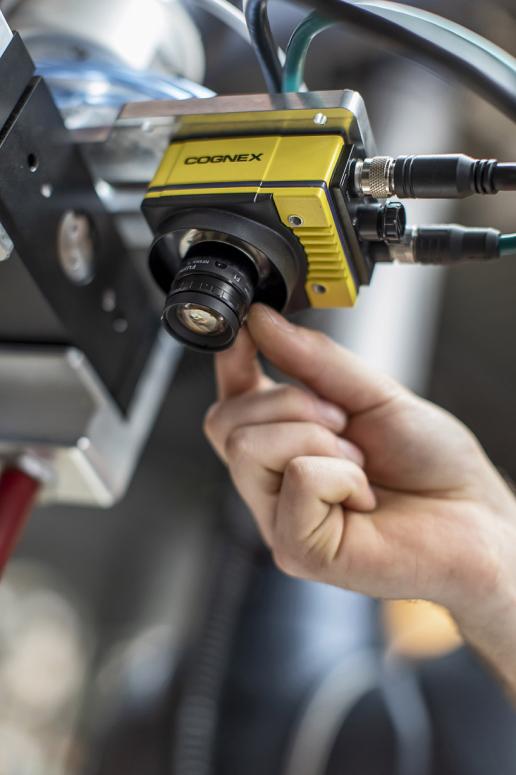
Cognex makes the decision a bit easier
At Promation, we use Cognex cameras to build our vision systems. These cameras offer a range of possibilities, from standard 2D inspections to advanced 3D measurements. However, choosing the right camera is just one of many decisions you must make.
Factor 1: Resolution and field of view (FOV)
One of the first factors to consider is the camera’s resolution. The resolution must be sufficient to inspect even the smallest product details. Additionally, the field of view (FOV) should be large enough to encompass the entire area you wish to inspect. For instance, if you need to find a small part in a larger area, you need to ensure you have enough pixels to clearly identify and inspect that part.
Example: resolution and field of view
If you are using a camera to inspect parts on a circuit board, the resolution must be high enough to distinguish each small detail, and the FOV must be large enough to capture the entire surface of the circuit board in one go.
Factor 2: Proper lighting
Another essential element is proper lighting. The right lighting can bring out details that would otherwise be difficult to see. There are different types of lighting options:
- Direct lighting from above, where the light shines directly onto the object.
- Lighting that minimizes reflections, ideal for inspecting shiny or reflective surfaces.
- Backlighting, where the light shines through the object to reveal only its contours. Each type of lighting has its own application, and choosing the right type for your specific inspection process can be crucial. Poor lighting can cause a camera to miss details or create too much noise in the images.
Example: lighting for vision systems
When inspecting bottles, for instance, you can use backlighting to only see the outer contours of the bottle and check for shape deviations. Meanwhile, for checking contents or labels, direct lighting is needed to minimize reflections.
Factor 3: Type of camera: 2D, 3D, or AI?
Depending on the complexity of the inspection, you can choose between a 2D or 3D camera. A 2D camera is often sufficient for simple inspection tasks like barcode scanning, while a 3D camera is better suited for more advanced measurements and inspections of objects with depth.
Cameras with artificial intelligence
You can also opt for cameras with AI functionality. AI can, for instance, learn what a good product looks like and detect deviations, even if they haven’t been seen before. This makes vision systems much more flexible and better able to handle variable errors.
Practical example
A 2D camera can be used to inspect packaging labels, while a 3D camera is ideal for inspecting products like cookies, where texture and shape may vary. AI-based cameras, for instance, can learn how a cookie should look and automatically recognize deviations outside the standard.
Factor 4: Lens selection
The camera’s lens is crucial for the accuracy of the inspection. A wrong lens can cause image distortion, especially at the edges of the field of view. This is known as parallax and can be problematic when inspecting details or conducting precise measurements. Choosing the right lens avoids these problems and ensures a sharp, distortion-free image of the object being inspected. It may seem logical, but mistakes are still made.
Practical example
When inspecting a part that must be precisely placed, like a chip on a circuit board, a wrong lens can lead to deviations in the measured image, causing quality issues.
Factor 5: Environmental factors
The vision system must also be suitable for the environment in which it is placed. Consider factors like temperature, humidity, and production speed. The camera must withstand the factory’s conditions and simultaneously be fast enough to inspect products in real time.
Example
In an environment with high temperatures and humidity, like food processing, the camera must withstand these conditions without sacrificing performance. Additionally, the camera must be fast enough to complete the inspection within the available cycle time, ensuring the production process isn’t slowed down.
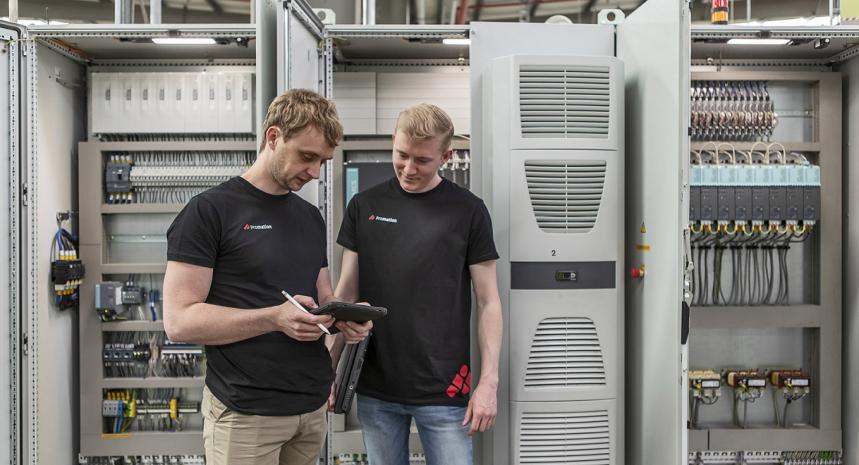
Vision systems require testing, testing, and more testing
At Promation, we always advise testing different options before making a final decision. Because each production process is unique, a system that works perfectly in one situation may face challenges in another. Testing allows us to see which cameras and lighting setups deliver the best results and ensure the vision system functions optimally.
We conduct tests early on with different cameras, lenses, and lighting settings to ensure the chosen system perfectly fits your production process’s specific requirements.
Video:
Written by Stijn Provoost
Founder of Promation. Passionate about programming and new technologies. With Promation, Stijn has one major goal: to improve production processes through industrial automation, robotics, and vision systems.
Conclusion: experience and testing are key
It's a process where many factors need to be carefully weighed, from resolution and lighting to environmental factors and lenses.
With our years of experience and extensive testing, we can help companies choose the best system to meet their unique production needs. We’re happy to assist you.